Creating an app registration in Azure AD is extremely powerful. As an MSP it allows you to create a headless connection to all of the customers in your Partner Center. When I say headless, I mean that you can connect to PowerShell across all of your customers, without having to sign in to authenticate. Instead, we are using a token-based architecture to create a secure connection to these environments. This allows us to run PowerShell on demand or on a scheduled cadence for exchange online or MSOnline.
Now I know you might be thinking that this sounds too advanced for you. While it does sound intimidating, I would give it I shot! I am no developer myself but I do try condense things down to make this easy for you to follow along. I do recommend you at least have some level of knowledge when it comes to PowerShell so you can understand how to troubleshoot basic errors if they do come up. In addition, it will allow you to take the architecture I will be presenting in the next few articles and really customize it for scripts you want to perform in customer environments.
Setting up an App registration is also free to do! There are no charges associated with it. In later articles, I will be showing you how to execute commands on a schedule with Azure functions. This does require an Azure subscription but the number of executions it takes to start accumulating charges is extremely large so I don’t think most of you would run into that either.
This article is specifically showing you how to register an app in Azure AD. In later articles I will show you how to run PowerShell executions off this app. Some prerequisites to getting this done:
- Azure AD account
- Global Admin
- Partner Center and are enrolled as a indirect CSP
- You are listed as partner of record in your customer accounts (i.e. you can see your customers in your list in Partner Center)
Creating the App
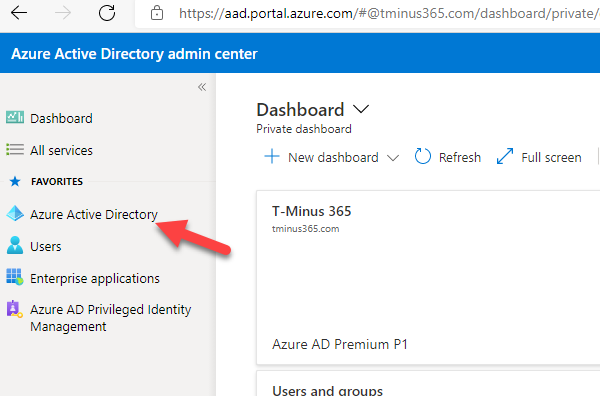
Login to Azure AD at AAD.portal.azure.com>Click Azure AD
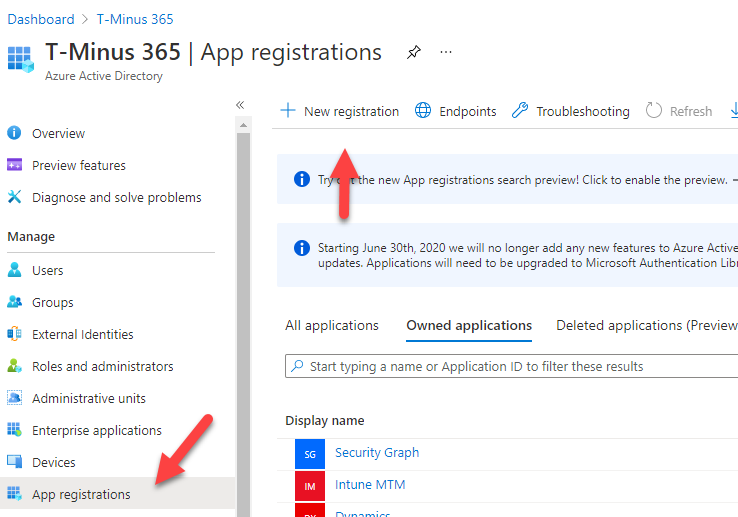
Click on App Registration>+New Registration
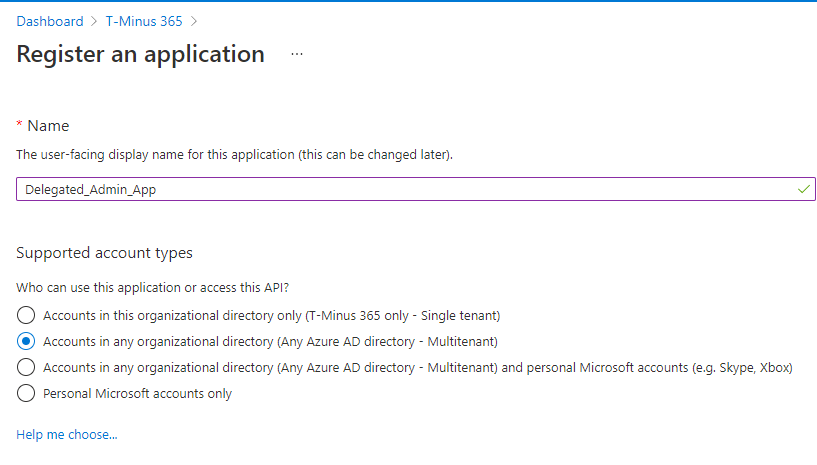
Add a custom Name and select the multitenant option under Supported account types. When you are finished, click Register (Redirect URI not needed)
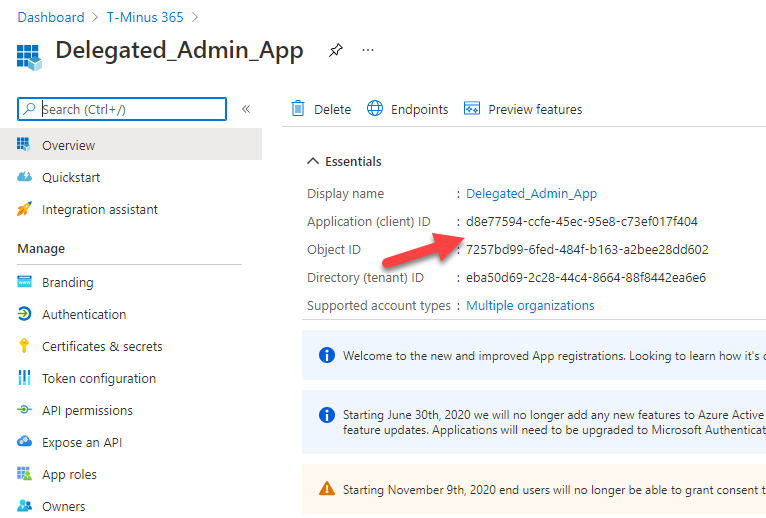
When the app is created, copy the Application ID and store it in a secure location
Click on Certificates and Secrets>New Client Secret
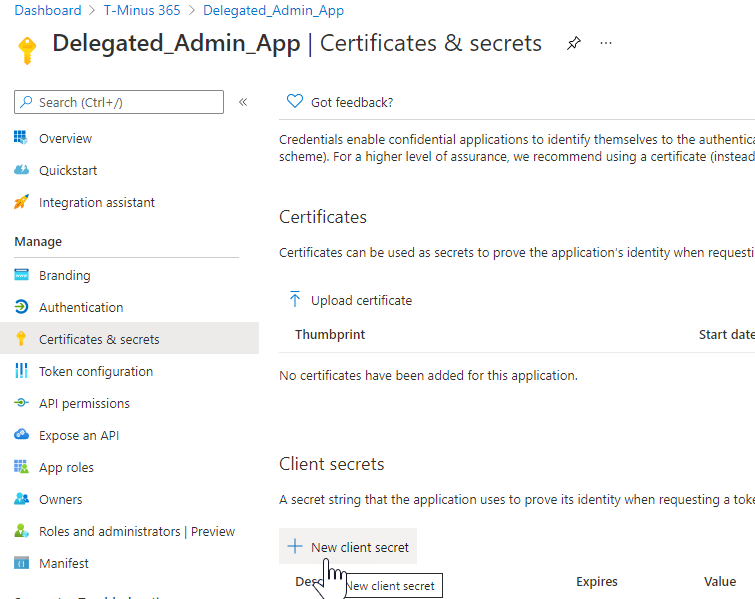
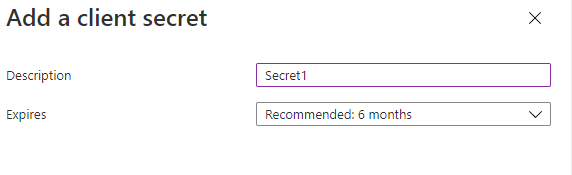
Add a description and set your expiration date. The max is 2 years. Keep in mind that you will need to set some type of reminder depending on your expiration.
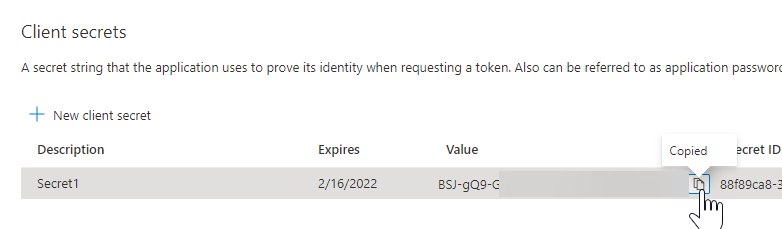
Copy the value before moving off the page. Store this in a secure location.
Next, Click on API permissions>+Add a permission
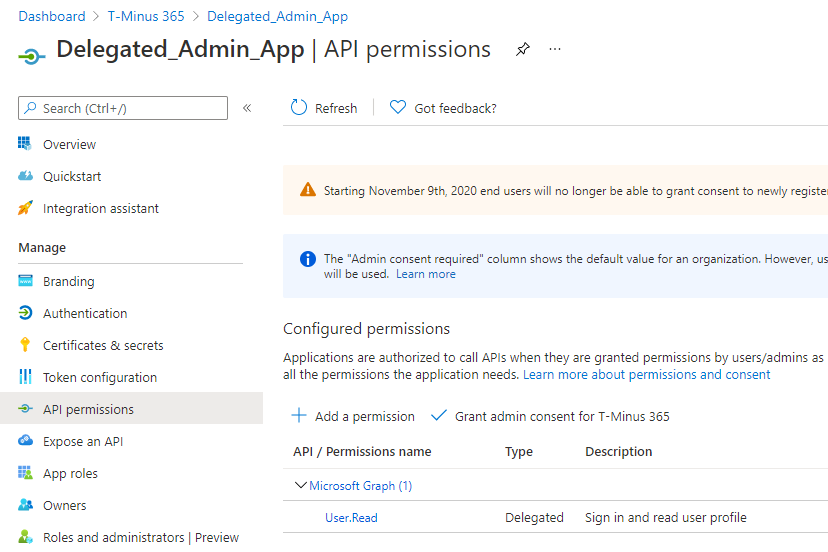
Here you can set permissions for the kinds of data you want to interact with. This includes both read and write permissions. It’s likely you will be using Microsoft’s graph API and I will have future blog post showing you how to leverage this functionality. PowerShell access will be derived separately from this page. In this blog post, we are not going to add any permissions, I just wanted to show you what this page does.
Giving Access to Admin Agent group
The final step is getting our Admin Agents access to the newly created app registration so that we have proper permissions to run commands against the customers we manage.
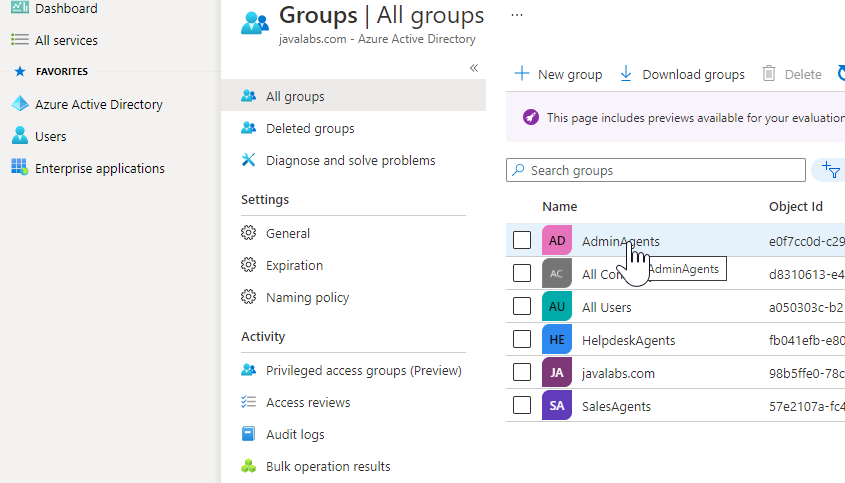
Click on Azure AD>Groups>Admin Agents
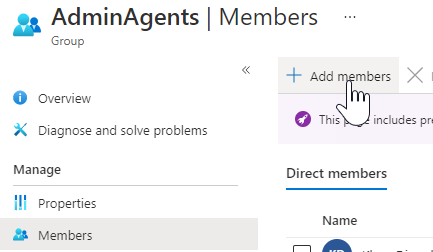
Click Members>Add Members
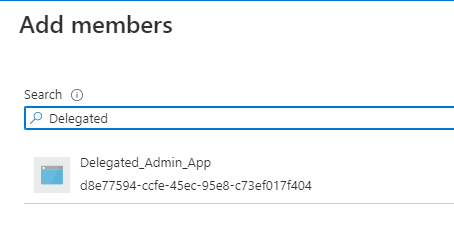
Search for your App Registration and Add it as a member
Once this is completed you are now set with your app registration. In the next blog post, I will show you how to use this app to generate access tokens in PowerShell for your customers.